Navigating emergency light issues requires a systematic approach, encompassing battery checks, circuit testing, bulb replacements, and wiring inspections for optimal functionality․
Understanding Emergency Light Types
Emergency lights vary significantly, impacting troubleshooting steps․ Standard units utilize nickel-cadmium or lithium-ion batteries, requiring periodic checks and eventual replacement․
LED emergency lights are increasingly common, offering longevity and energy efficiency, but still susceptible to power supply failures․ Some models feature automatic self-testing, while others demand manual activation․
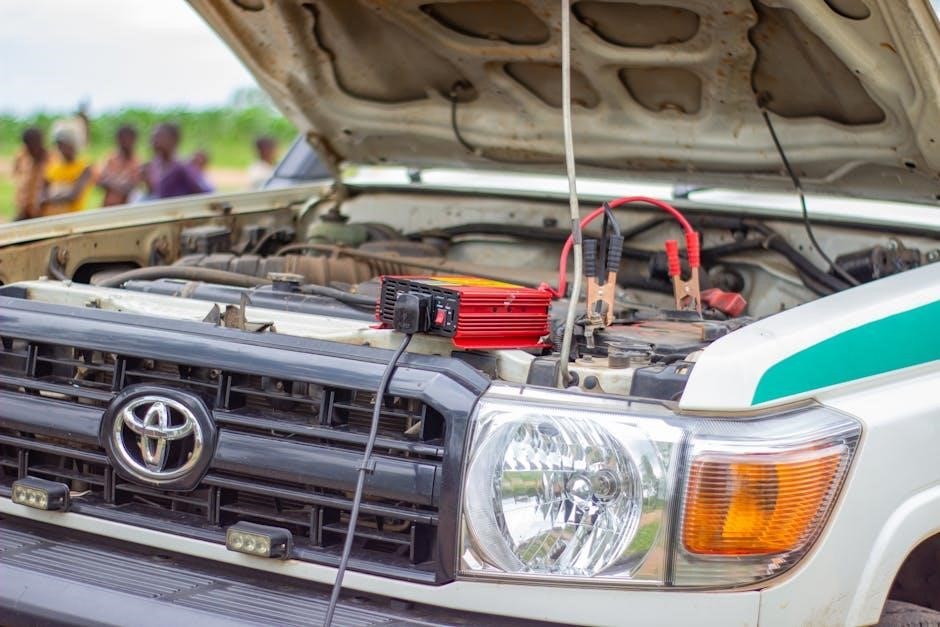
Vehicle-specific emergency lighting, like those in FiveM modifications, often involves unique wiring and control systems․ Understanding the specific type is crucial for effective diagnosis and repair, ensuring reliable operation during critical events․
Common Emergency Light Issues
Frequent problems include complete failure to illuminate, intermittent operation, or the light not staying on after a power outage․ Diminished brightness often signals battery degradation or a failing charging circuit․
Indicator lights may display error patterns, providing clues to the underlying issue․ Automatic testing failures can indicate a problem with the battery, charger, or lamp itself․
In vehicle applications, such as FiveM, issues can stem from wiring faults or software glitches affecting the emergency lighting system’s activation․
Battery Problems: The Most Frequent Culprit
Batteries are the heart of emergency lighting, and their degradation is a primary failure point․ Reduced runtime or the inability to hold a charge are key indicators․
Age, temperature, and improper charging contribute to battery decline․ Regular testing is crucial to ensure readiness during outages․
Ni-Cd, Ni-MH, and Lithium-ion batteries are common types, each with specific charging requirements and lifespan expectations․ Identifying the battery type is essential for correct replacement;

Identifying Battery Failure
A noticeable decrease in illumination duration is a primary sign of battery weakness․ The emergency light may activate, but quickly dim or shut off, indicating insufficient power storage․
Visually inspect the battery for swelling, corrosion, or leakage – these are clear indicators of damage․ A multimeter can measure voltage; a significantly low reading confirms failure․
Consistent failure during self-testing routines also points to battery issues․ If the light fails the test repeatedly, battery replacement should be the first troubleshooting step․
Replacing Emergency Light Batteries
Before replacing, disconnect the emergency light from its power source to prevent electrical shock․ Carefully note the battery type – typically Ni-Cd, Ni-MH, or Lithium-ion – for a proper match․
Remove the old battery, adhering to local disposal regulations for battery waste․ Install the new battery, ensuring correct polarity alignment as indicated on the light’s housing․
After installation, allow the light to charge fully – usually 24 hours – before testing․ Perform a manual test to verify functionality and confirm the new battery is holding a charge effectively․
Charging Circuit Issues
A malfunctioning charging circuit prevents the emergency light from receiving necessary power, leading to reduced runtime․ Begin by visually inspecting the charger connection for loose wires or damage․
Ensure the power outlet is functioning correctly by testing it with another device․ If the connection appears secure, utilize a multimeter to test the voltage output of the charger itself․
Low or absent voltage indicates a faulty charger requiring replacement․ Internal circuit board issues may necessitate professional repair or complete unit replacement․
Checking the Charger Connection
Begin troubleshooting charging issues by meticulously examining the physical connection between the charger and the emergency light․ Look for any signs of loose wiring, corrosion, or physical damage to the charging port or plug․
Ensure the charger is firmly seated in both the light and the power outlet․ Try a different outlet to rule out a faulty power source․
A wobbly connection can interrupt the charging process․ If damage is visible, avoid using the charger and consider a replacement․
Testing the Charging Circuit with a Multimeter
For a more in-depth assessment, utilize a multimeter to test the charging circuit’s voltage․ Set the multimeter to DC voltage mode and carefully connect the probes to the charger’s output terminals, observing the voltage reading․
A healthy charging circuit should display a voltage consistent with the charger’s specifications․
If the voltage is significantly low or absent, it indicates a problem within the charger or the light’s internal charging circuitry, requiring further investigation or repair․
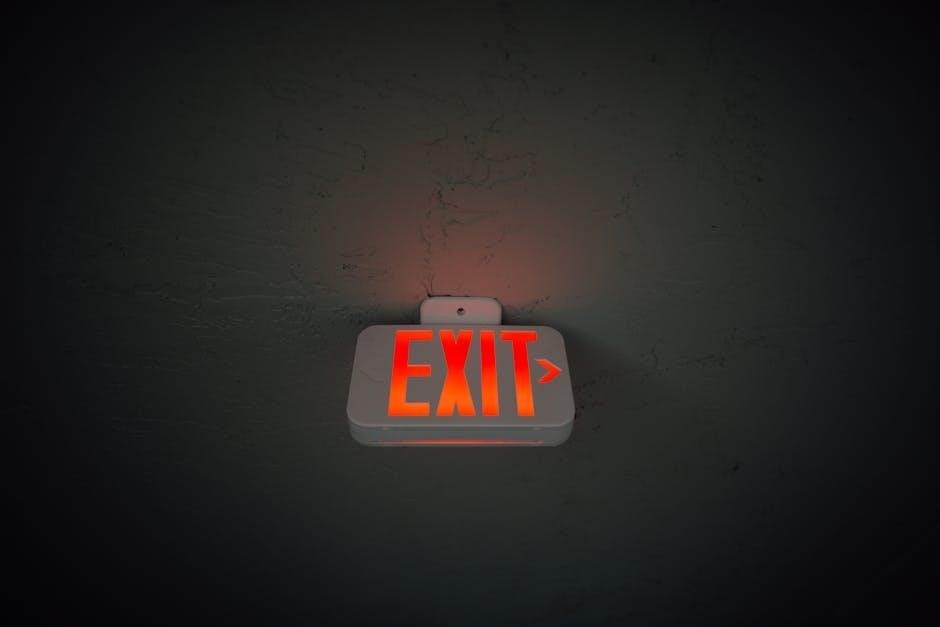
Lamp/Bulb Failures
A common issue involves lamp or bulb failures, preventing the emergency light from illuminating․ Identifying a burned-out bulb is usually straightforward – look for a darkened or broken filament․
Replacing bulbs or LEDs is generally a simple process, but always ensure the replacement matches the original specifications for voltage and wattage․
Before replacing, disconnect the power source․ If the new bulb still doesn’t work, investigate potential wiring or switch problems․
Identifying Burned-Out Bulbs

Visually inspecting the bulb is the first step; a darkened or broken filament clearly indicates failure․
If the filament isn’t visible, try gently shaking the light – a rattling sound suggests a loose or broken component inside․
Use a multimeter to test for continuity across the bulb’s terminals; a lack of continuity confirms it’s burned out․
Always disconnect power before handling bulbs to prevent electrical shock and ensure a safe inspection process․
Replacing Bulbs and LEDs
Before replacing any bulb, disconnect the emergency light from its power source to avoid electrical hazards․
Note the bulb type (incandescent, LED, etc․) and wattage before removal, ensuring the replacement matches specifications․
Carefully unscrew or detach the old bulb, avoiding excessive force․

Install the new bulb, tightening it securely but not overtightening․
Test the light to confirm the replacement was successful and the emergency function operates correctly․
Switch and Wiring Problems
Faulty switches or damaged wiring can prevent an emergency light from functioning․
Begin by testing the on/off switch with a multimeter for continuity; a lack of continuity indicates a failed switch needing replacement․
Visually inspect all wiring for fraying, corrosion, or loose connections․
Carefully tighten any loose connections and replace damaged wires, ensuring proper insulation․
Always disconnect power before working with wiring, and consider professional assistance if unsure about electrical repairs․
Testing the On/Off Switch
A malfunctioning on/off switch is a common cause of emergency light failure․
To test, disconnect power to the light and use a multimeter set to continuity mode․
With the switch in the “off” position, there should be no continuity (an open circuit)․
When the switch is flipped to “on”, the multimeter should indicate continuity (a closed circuit)․
If the switch fails either test, it’s defective and requires replacement to restore proper operation of the emergency light․
Inspecting Wiring for Damage
Damaged wiring can interrupt the power supply to the emergency light, causing it to fail․
Visually inspect all wiring connected to the light for signs of fraying, cracking, or exposed wires․
Gently tug on the wires to check for loose connections within the terminals․
Look for any evidence of corrosion, especially near connections, which can impede electrical flow․
Replace any damaged wiring immediately and ensure all connections are secure to guarantee reliable performance․
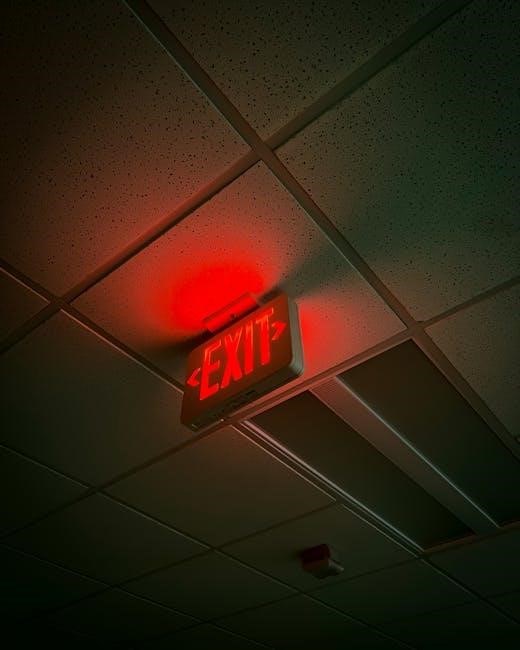
Indicator Light Diagnostics
The indicator light provides crucial clues about the emergency light’s operational status․
Different flashing patterns often signify specific issues, such as battery problems or charging circuit failures․
A consistently lit indicator usually means the light is receiving power and is charged․
If the indicator light is completely off, check the power source and internal connections․
Consult the manufacturer’s manual to decipher the meaning of various light patterns for accurate troubleshooting․
Interpreting Different Indicator Light Patterns
Decoding the indicator light’s behavior is key to pinpointing the problem․
A rapid flash might indicate a low battery or a charging fault, demanding immediate attention․
A slow, intermittent flash could signal a nearing battery replacement need or a partial charge․
A solid green light generally confirms a fully charged and functional unit, ready for emergencies․
Refer to the device’s documentation; manufacturers define specific patterns for their models, aiding accurate diagnosis․
Troubleshooting No Indicator Light
A completely dark indicator light suggests a power issue, requiring methodical investigation․
First, verify the power source – is the unit properly plugged in, and is the outlet functioning?
Next, check the internal fuse, if accessible, replacing it if blown․
A depleted battery could also be the culprit; attempt charging, observing if the light eventually activates․
If no response, suspect a faulty charging circuit or a deeper internal failure, potentially needing professional repair or replacement․
Emergency Light Not Staying On
If your emergency light illuminates briefly then shuts off, investigate potential power supply deficiencies․
A failing battery is a common cause; ensure it’s fully charged and capable of holding a charge․
Inspect for internal short circuits, often indicated by a burning smell or visible damage to components․
The charging circuit itself may be malfunctioning, preventing proper battery maintenance․
Thoroughly examine wiring connections for looseness or corrosion, as these can interrupt the power flow and cause intermittent operation․
Investigating Power Supply Issues
Begin by verifying the input voltage to the emergency light, ensuring it matches the specified requirement․
Check the fuse or circuit breaker supplying power to the unit; a tripped breaker or blown fuse will halt operation․
Inspect the power cord for any signs of damage, such as cuts or fraying, which could indicate a short circuit․
Confirm the power supply is delivering consistent voltage and current using a multimeter․
A faulty transformer within the power supply can also cause intermittent or complete power loss, requiring replacement․
Checking for Internal Short Circuits
Disconnect the emergency light from the power source before proceeding with any internal inspection․
Visually examine the internal components for any signs of burnt or damaged parts, like resistors or capacitors․
Use a multimeter in continuity mode to test for unintended connections between wiring and the chassis․
A short circuit can be caused by damaged insulation, loose connections, or component failure within the unit․
Carefully trace the wiring diagram to identify potential points of failure and isolate the short․
Automatic Testing Failures
Emergency lights often feature automatic self-test functions to ensure operational readiness․
Failure during these tests can indicate a problem with the battery, charging circuit, or the test mechanism itself․
First, verify the light is receiving consistent power and the battery is properly connected․
A faulty battery is the most common cause of test failures, requiring replacement to restore functionality․
If the battery is good, the testing circuit may need resetting or could indicate a more complex internal issue․
Understanding Automatic Test Functions
Automatic testing in emergency lights simulates power outages, verifying the unit switches to battery power and illuminates․
These tests typically run monthly or annually, with some models offering manual override options․
The function assesses battery health, charging circuit efficiency, and lamp functionality․
Successful tests are usually indicated by a green light or a specific flashing pattern․
Understanding the specific test sequence and indicator signals for your model is crucial for accurate diagnostics and maintenance․
Resetting the Automatic Test Feature
If an emergency light fails an automatic test, a reset might be necessary before re-evaluation․
The reset procedure varies by model; consult the manufacturer’s instructions for specifics․
Common methods include disconnecting and reconnecting the power supply or pressing a dedicated reset button․
Some units require a prolonged power disconnection to fully clear the test history․
After resetting, allow the unit to charge completely before initiating another automatic test to ensure accurate results and proper functionality․
FiveM Emergency Light Fixes (Vehicle Specific)
Addressing emergency lighting issues within the FiveM platform often requires server-side adjustments․
Fixing vehicle-specific lighting typically involves modifying vehicle meta files or utilizing custom scripts․
These modifications can correct malfunctioning patterns, ensure synchronization across players, and resolve conflicts with other mods․
Resources like TheHams GTA FiveM website offer guidance and solutions for common lighting problems․
Proper implementation demands familiarity with FiveM’s scripting environment and vehicle customization procedures for optimal results․
Stardew Valley Crop Relevance (Unexpected Connection ⎼ Data Inclusion)
While seemingly unrelated, Stardew Valley’s crop system demonstrates resource management principles mirroring emergency light maintenance․
Like ensuring a consistent power source for lights, successful farming requires consistent resource input – water, fertilizer, and time․
Parsnips, a beginner crop, offer quick returns, similar to a functioning emergency light providing immediate safety․
Processing crops into artisan goods (pickles, wine) parallels optimizing light efficiency through regular checks and repairs․
Seasonal planning in Stardew Valley reflects proactive maintenance schedules for emergency systems․
Processing Crops for Value (Stardew Valley ⎼ Data Inclusion)
Similar to maximizing an emergency light’s lifespan through upkeep, Stardew Valley emphasizes processing crops for increased value․
Converting vegetables into pickles and juice, or fruit into jam and wine, mirrors optimizing a system’s output with minimal input․
This parallels replacing a failing bulb with an efficient LED, enhancing performance․
Dehydrating fruit into dried fruit represents a long-term storage solution, akin to maintaining a fully charged battery․
Strategic processing ensures consistent returns, just as regular testing guarantees emergency light readiness․
Seasonal Crop Strategies (Stardew Valley ⎼ Data Inclusion)
Just as emergency lights require adaptation to varying conditions, Stardew Valley’s success hinges on seasonal crop strategies․
Planting parsnips early, a quick yield, resembles a temporary fix – ensuring immediate functionality while addressing core issues․
Planning for each season, like checking battery life before winter, is crucial for sustained performance․
Understanding crop growth times mirrors diagnosing a circuit’s charging rate – optimizing for efficiency․
Adapting to seasonal changes ensures consistent harvests, mirroring proactive maintenance for reliable emergency lighting․
Wall Mounting and Cable Installation (Physical Installation)
Secure mounting and proper cabling are vital, much like a stable power source for an emergency light․
Ensure the mounting holes, specified at 180mm, align precisely for a firm fixture, preventing disconnections during emergencies․
Utilize two screws for robust attachment, mirroring the need for secure wiring connections․
Carefully route the cable, using a rubber grommet where it enters the wall, safeguarding against damage and maintaining insulation․
This parallels checking wiring for shorts – a preventative measure for consistent operation․